Discourse has in-box backup capability to Amazon S3, but it has some disadvantages:
- It is not incremental. So, it eats your space, traffic, and money.
- It runs only one time a day. So, you can loss all your can loss your forum data a whole day.
So, I build a better backup system for my Discourse forums.
The solution is tested on Debian 7/8.
Step 1.
Install Backupninja.
aptitude install backupninja
Step 2.
Install Duplicity.
aptitude install duplicity
Step 3.
Install boto
aptitude install python-boto
Step 4.
Install S3cmd.
apt-get install python-pip
pip install s3cmd
Step 5.
Set up your Amazon S3 account and create a bucket: s3.console.aws.amazon.com.
Place your bucket to any location except Frankfurt. S3cmd fails for Frankfurt with the message: «The authorization mechanism you have provided is not supported».
S3cmd supports the Frankfurt location since the version 1.5: s3tools.org/kb/item15.htm
Step 6.
Set up an Access Key for external access to your Amazon S3 bucket.
Step 7.
Locate the GNU Privacy Guard in your OS:
which gpg
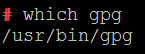
You will be asked for it on the next step.
Step 8.
Run s3cmd --configure command.
s3cmd --configure
You need to provide:
- «Access Key» and «Secret Key» for Amazon S3 (see the Step 6)
- An arbitrary «Encryption password» (it will be used to protect your files from reading by unauthorized persons while in transfer to Amazon S3).
Remember it: you will need to specify it later to Backupninja.

Step 9.
Set up /etc/backupninja.conf.
My settings are:
admingroup = root
configdirectory = /etc/backup.d
libdirectory = /usr/lib/backupninja
logfile = /var/log/_my/backupninja.log
loglevel = 3
reportdirectory =
reportemail = admin@magento-forum.ru
reporthost =
reportinfo = no
reportspace = yes
reportsuccess = no
reportuser =
reportwarning = yes
scriptdirectory = /usr/share/backupninja
usecolors = yes
vservers = no
Step 10.
Create the /etc/boto.cfg file and fill it with your Amazon S3 credentials:
[Credentials]
aws_access_key_id = <place here your Access Key Id>
aws_secret_access_key = <place here your Secret Access Key>
docs.pythonboto.org/en/latest/boto_config_tut.html#details
Step 11.
Create the file /etc/backup.d/discourse--db--1.sh with contents:
when = hourly
dir=/var/backup/discourse/db
rm -rf ${dir}
mkdir -p ${dir}
declare -A servers=( \
    [example-1.com]=14578 \
    [example-2.com]=14579 \
)
for domain in "${!servers[@]}"; do
    pg_dump \
        --schema=public \
        --no-owner \
        --no-privileges \
        --host=localhost \
        --port=${servers[$domain]} \
        --username=postgres \
        discourse > ${dir}/${domain}.sql
done
This script connects to Discourse Docker container and dumps Discourse databases.
- Specify your Discourse Docker container names instead of
example-1.comandexample-2.com. - Specify your PostgreSQL tunneled ports instead of
14578and14579.
Step 12.
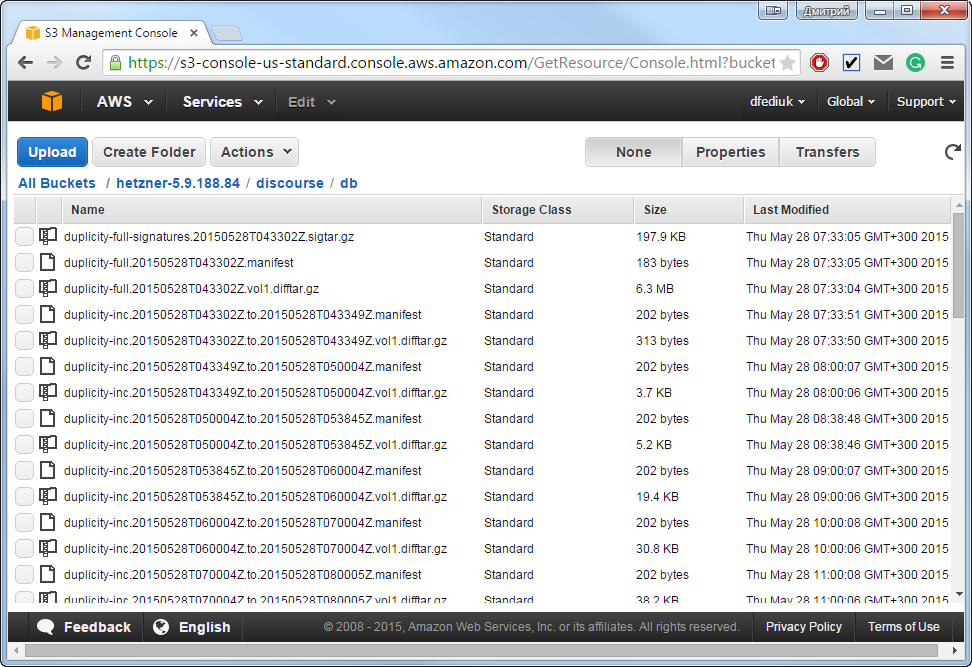
Create the file /etc/backup.d/discourse--db--2.dup with contents:
when = hourly

options = --allow-source-mismatch --no-encryption --s3-european-buckets --s3-use-new-style --s3-unencrypted-connection --s3-use-multiprocessing --asynchronous-upload --volsize 50 --archive-dir /var/backup/archive --name discourse/db

testconnect = no

[gpg]
password = <your GnuPG password: see Step 8>

[source]
include = /var/backup/discourse/db

[dest]
incremental = yes
keep = 60
increments = 10
keepincroffulls = 2
desturl = s3+http://<your Amazon S3 bucket name>/<folder path inside the bucket>
awsaccesskeyid = <place here your Access Key Id>
awssecretaccesskey = <place here your Secret Access Key>
This script prepares backup packet with databases and sends it to your Amazon S3 bucket.
- Specify your GnuPG password: see Step 8.
- Set value for
desturloption. - Set values for
awsaccesskeyidandawssecretaccesskeyoptions.
Step 13.
This step is excluded.
Step 14.
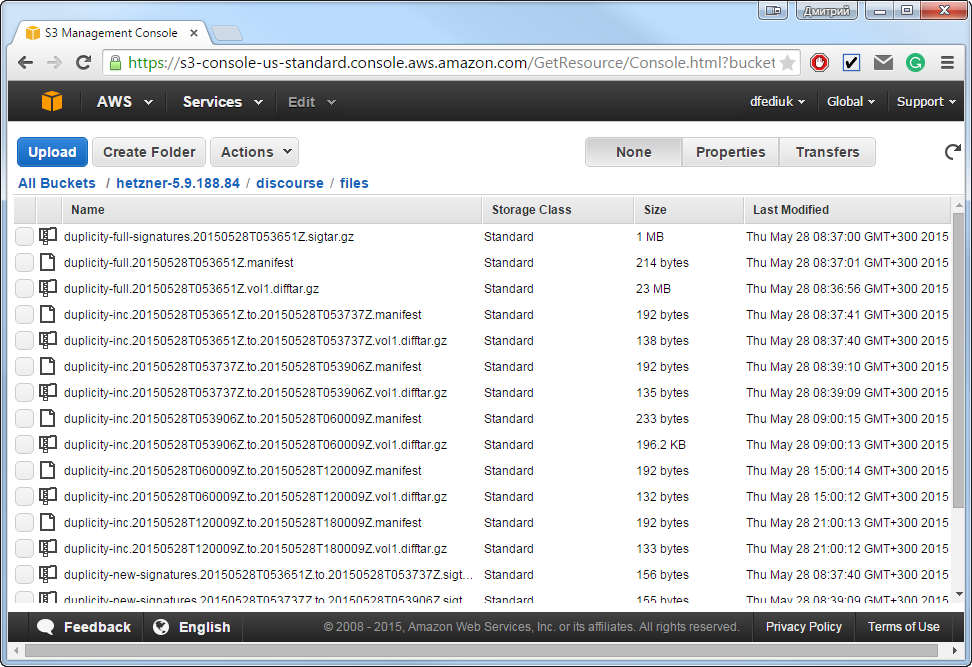
Create the file /etc/backup.d/discourse--files.dup with contents:
when = everyday at 03:45
when = everyday at 09:45
when = everyday at 15:45
when = everyday at 21:45

options = --allow-source-mismatch --no-encryption --s3-european-buckets --s3-use-new-style --s3-unencrypted-connection --s3-use-multiprocessing --asynchronous-upload --volsize 2000 --archive-dir /var/backup/archive --name discourse/files

testconnect = no

[gpg]
password = <your GnuPG password: see Step 8>

[source]
include = <path to Discourse>/shared/<your Discourse container 1>/uploads
include = <path to Discourse>/shared/<your Discourse container 2>/uploads

[dest]
incremental = yes
keep = 90
increments = 30
keepincroffulls = 2
desturl = s3+http://<your Amazon S3 bucket name>/<folder path inside the bucket>
awsaccesskeyid = <place here your Access Key Id>
awssecretaccesskey = <place here your Secret Access Key>
This script prepares backup packet with images and sends it to your Amazon S3 bucket.
- Set path to Discourse and specify your container name in [source] section.
- Specify your GnuPG password: see Step 8.
- Set value for
desturloption. - Set values for
awsaccesskeyidandawssecretaccesskeyoptions.
Step 15.
Now you can manually test your backup plan:
backupninja --now --debug
Now you can check backup in your Amazon S3 bucket.
Step 16.
To restore backup you need to install some more packages:
aptitude install python-paramiko python-gobject-2
Step 17.
Now, you can test backup restoration:
duplicity --s3-unencrypted-connection --s3-use-new-style --s3-european-buckets s3+http://<your Amazon S3 bucket name>/<folder path inside the bucket> <folder for restored files>
Step 18.
That's all. Backupninja will run your backup plan automatically on schedule: